Showing posts with label Jon's Mars Pattern Warhound. Show all posts

Tuesday, March 23, 2010

Its all coming together

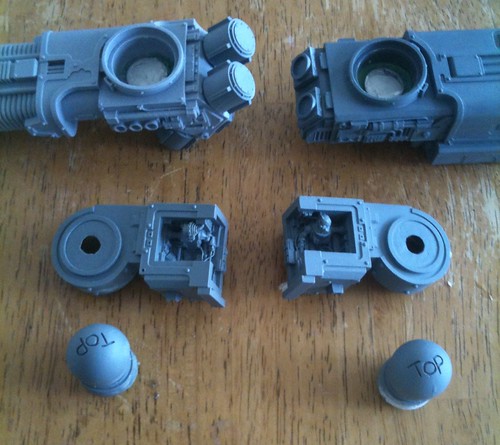
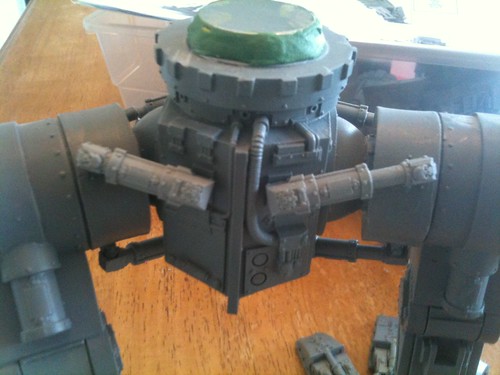
Well I finally finished up the arms.


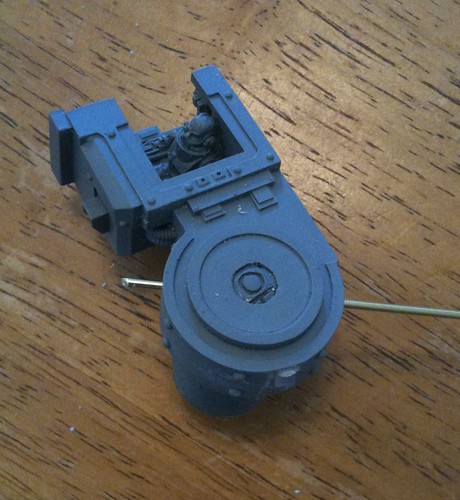
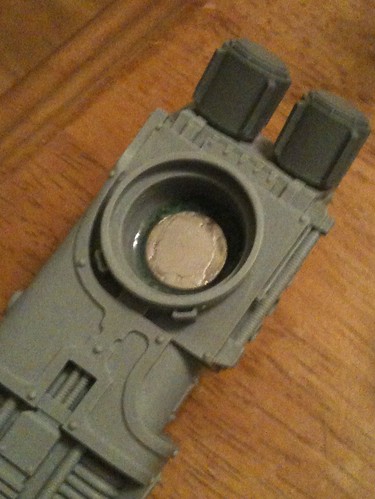
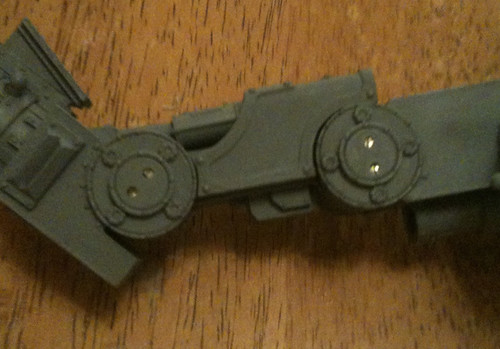
I glued the arm's into the weapon mounts, when the glue had set
I drilled two pin holes that cross for extra support.


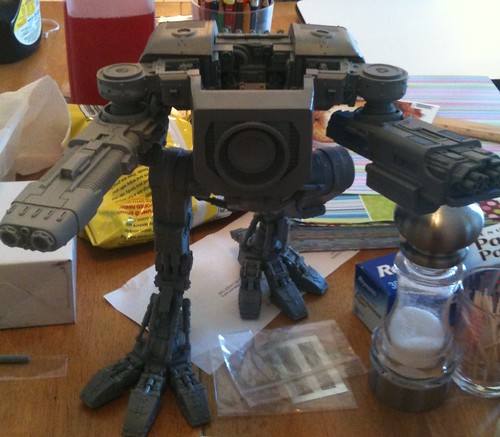
With both arms done I'm not able to attach the weapons:


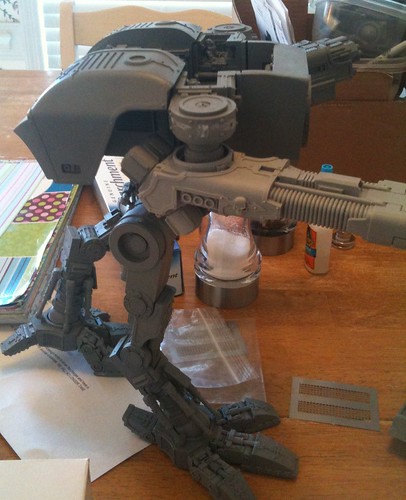
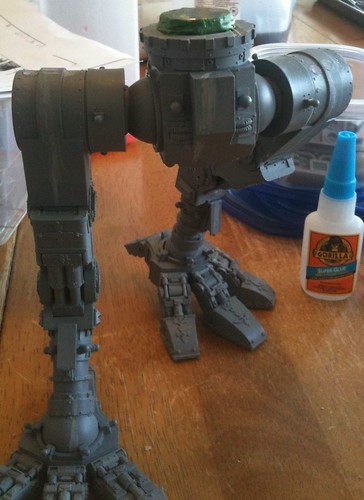
With the arms done I'm not able to put the model together
for a stability test.

The torso's and arms are held on with nothing but pin's
and magnets at this point.


The good news is that I've gotten this far, the bad news is it goes in the
mail Saturday.

Sunday, March 21, 2010

Right to keep and arm bears.

Well even though I said I'm trading my current Warhound to my friend
for his Chaos Warhound I still want to share my progress.

This week was a little slow as my wife bakes cookies on the side and she
controlled much of the table this week.

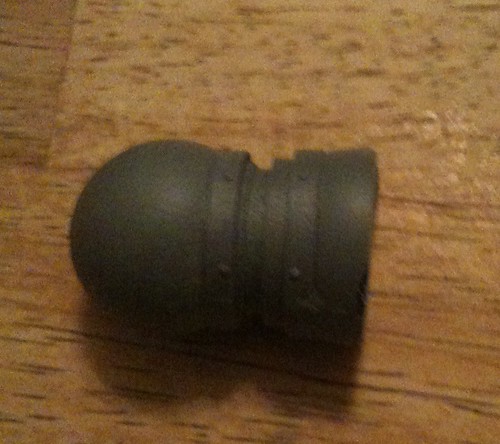
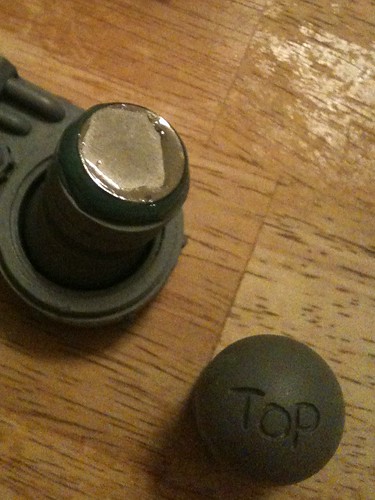
But I did get the magnets onto the arms and weapons.

It was easier then I thought. I went to the local model shop and picked
up a sharper razor saw and some more green-stuff..

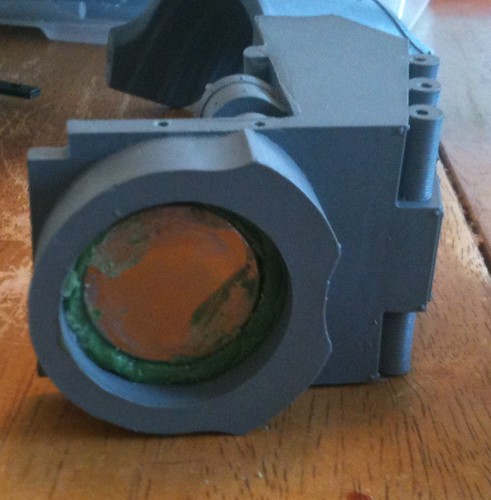
The hardest part is figuring out where to cut the arm. I first mounted
a magnet in the ball-joint in the weapon. Since the shape is a sphere
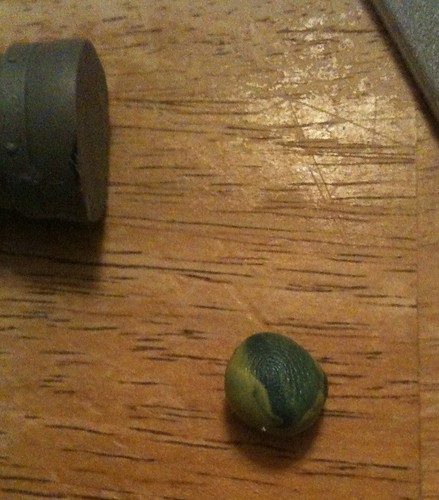
I pulled some green stuff and rolled it into a ball and placed in at the
bottom and pressed the magnet into it.


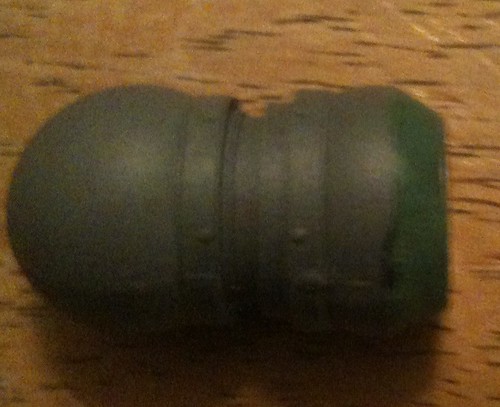
Once in place I judge where I need to cut on the arm, I cut it a little short
maybe measuring twice the width of the two magnets and going a little short
go allow the the green-stuff. Better to measure short and cut twice then
measure wrong and cut short.


I then roll a ball of green-stuff and use it as extra security on the
magnet, its better then superglue.


Once the green stuff I run a bead of glue between the magnet and green
stuff and the green-stuff and resin base.


Going to let that cure over night then I will pin the arms to the weapon extensions.

Sunday, March 14, 2010

Colors..colors..colors.

Well my construction phase has about wrapped up and I'm
starting to move into the painting. I have a few lose ends
and adjustments to make but overall its ready. I've tested
a auto-primer on a test piece and its done well, I'm letting it
sit for a couple of days to ensure its sticking.

So now I'm thinking colors. First up I want to avoid red and blue;
while they look good they are everywhere when I look at other titans.
I do see a few greens and off colors but most red and blue.

I was thinking about a "Dazzle camo" but I'm not sure I'm going to
get the look I'm looking for. I was also thinking about a split black/white
look or just solid black with either silver or gold trim with a white head
or some variation of that.

Any ideas on colors or looks?

Tuesday, March 9, 2010

The aye's have it

Before I started this project I did a lot of reading
to try and head off issues, well, it did not work lol.

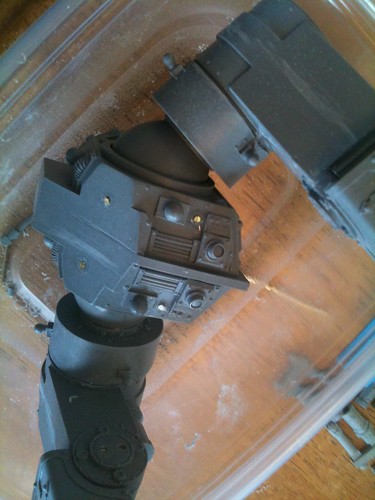
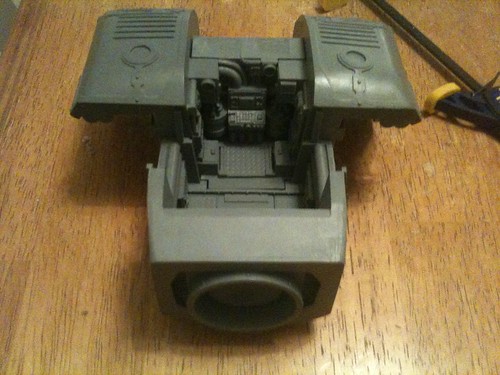
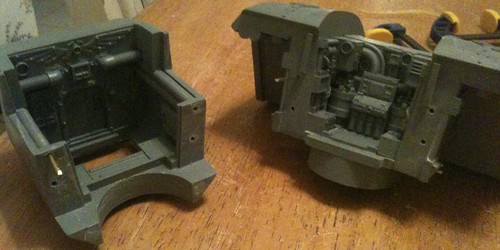
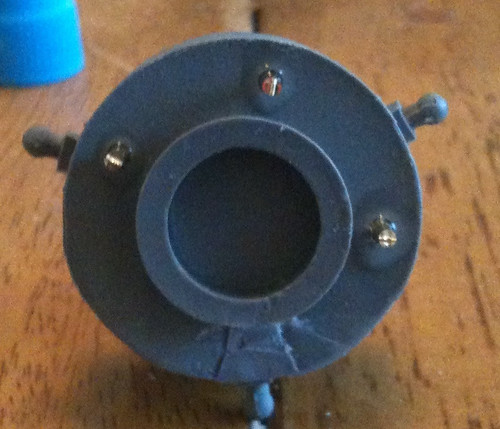
Yesterday I sawed off the tab on the torso and replaced it
with a magnet held in place with some green stuff and glue.

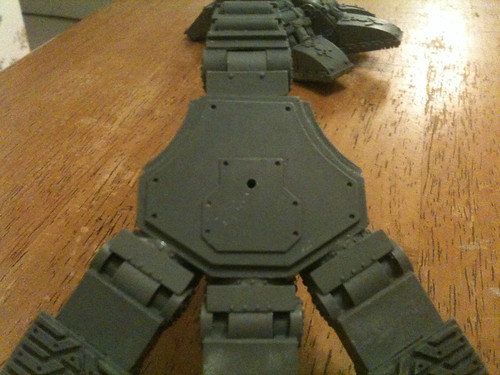
Today I attached the torso to the legs, after the glue dried
I drilled some holes in the bottom for some pin's


I also used green stuff to secure the other magnet inside
the carapace.


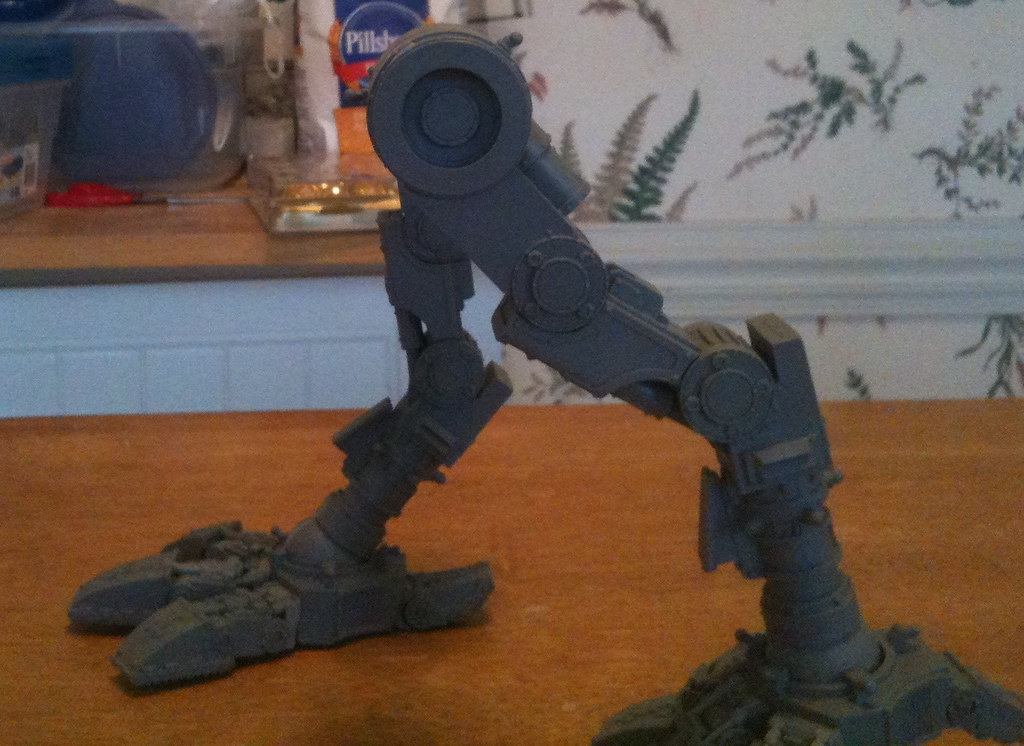
The heartache, the ankle and hip pistons. It took some work, and I
had some breaks but I got it together. WARNING!! when you position
legs make sure they are in a position that allows the pistons to
attach. One of my front hip pistons was not long enough and I had
to fashion an extension.

The photo is of the rear pistons.


My problem is the rear leg piston. With how I have my legs set its
impossible to attach the rear piston on one of the legs.
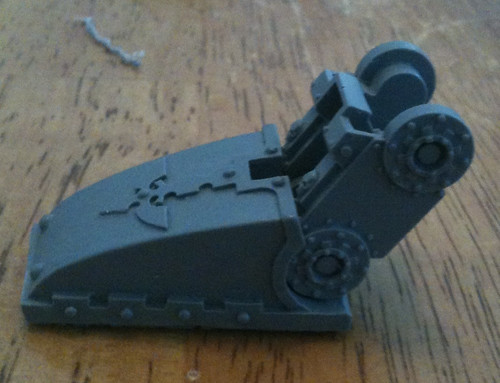
Here is where I need the community's help...HELP. The only
option I see is just leaving it off or using flex tubing
to replace the current piston's.

Left Leg (not glued)


Right leg, piston will not reach.

Thursday, March 4, 2010

More pin's then Pinhead

Well I took some sage advice and avoided my moment of magnet
madness just to have it replaced with pin madness.

So far I've pinned the front/center and two side's of the torso.

It's worked so far, this will allow me to prime and paint before I
glue it all together.

First up is the dry fit that I preach and preach about.


With my dry fit set I drill some guide holes.


I go with three more pin's in the pipping on the back for a
total of five pins on each side.


I then used four pins for the front of the torso.


This allows me some freedom with the torso.

Monday, February 22, 2010

On pin's and needles

So, taking some sage advice I reinforced the pinning on the feet
and threw in some pins at the pivot/glue points connecting the upper
and lower legs.

I followed the "two pin" rule for extra support. For the leg pin's
after I drilled the hole and measured the pin I cut it just short
so I can fill in the top of the whole with some putty and smooth
the surface before painting.


On a person note its dang nerve wrecking to drill wholes into a
model like this, but I understand its for the better in the long
term.

Sunday, February 21, 2010

She's got Legs, she know how to use them!

Well I finally finished up the legs to hip portion.
Pretty much the same as the legs, dry fit, dry fit
again, pin, dry fit and glue.

Careful with the legs, pretty easy to flip around
and turn backwards if your not paying attention.

To note, I switched to a electric dremel vice a
pin vice, careful, the dremel cuts through resin like
a hot knife.

I drove a pin threw the bottom of the foot into the
ball joint for some extra hold.


When building the legs I found it better for the over all
look to keep the hip joints roughly the same height, this
will keep your hip-to-torso level.


I decided to pin the hip ball joints to the legs since the weight
of the torso would be resting on these joints.


Once I attached the hip ball joints I check for alignment one
more time.


Monday, February 15, 2010

The Shoe is on the other foot

I started in on the other foot, I went out of town this
weekend so I could not work on it as much as I wanted to,
I also have a game of 40K next Saturday so we'll see how
it goes.

Well with this foot I kept up my pinning, but with the
angle I used I ran into pinning issues where I was drilling
into existing pins.

This was the toe pin:


So when I put this pin in I hit the toe pin:


To solve it I moved the center pin on the toe to the edges:


With the pinning worked out I could position my toes. Mind you that
a lot of dry fitting went into the planning.


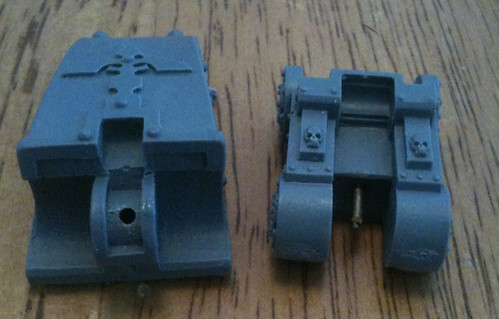
Couple of issues at this point, the center toe piston needed glued tight
to its housing and even the top of the casing needed some trimming to get
it to fit:


With the toe angle worked out (endless dry fitting) I attached/pinned the
toes to the foot:


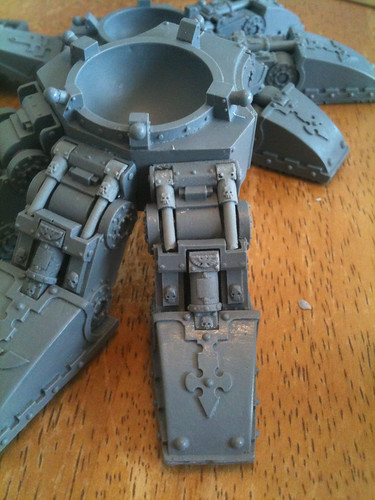
Issue two, the smaller toe pistons. With the toes at this angle the pistons
are two short. I went ahead and glued the pistons on but will be snipping
the thin bottoms and replacing them with metal rods:

Monday, February 8, 2010

What cha doin with your feet son?

These dang feet need Nike's, what a pleasure and pain it is
dealing with them.

I went ahead and glued the toe joins to the foot base instead of
building them with the toe so I had more support when I glued
them for pinning.


I would highly suggest dry fitting everything and playing around
with different configurations to get a feel. Once you decide on
the foot's form its real important to pin for some added
support.

For this foot I went flat to add some support to the whole model.


Sunday, February 7, 2010

Back to the Forge

Well its time I put pen to paper and get busy doing what I
intended this blog to be for; my titans.

I broke my Warhound back out and have decided to make this
month "Month of the hound" and I hope to have him at least
together this month.

Let me start with the cleaning and cutting. This process took
me about two hours. I decided to cut and sand all pieces that I
could so I could wash it all at the same time.

On some pieces clippers work fine:


On others you need a razor saw:


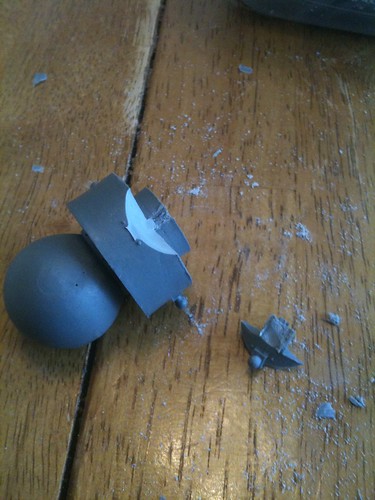
And with resin you get breaks:


But with resin the break is clean, and after the panic has passed and cooler
heads prevail the fix is pretty easy:


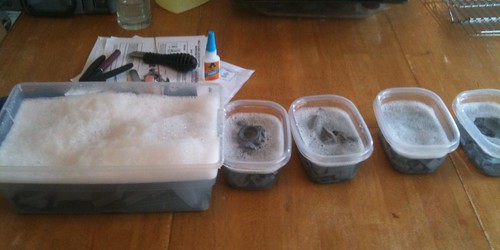
After all the bits are cut I clean them and separate them into plastic
storage bins, tip: do NOT put them back in the plastic bags, the bags
have resin dust and residue, you will have to clean them again.


This also allows you to separate by area, such as all the foot pieces in one,
legs in another and arms in yet another. With a project this big with this
many pieces its important to stay organized.

Sunday, April 19, 2009

Time is ticking

Well time is counting down to when my friend Joe and I really dive
into our Titan project. Getting a litte bit of a head start and
am starting to clean and trim off the extra bits.

I did not get to far before my wife kicked me out of the kitchen
because it was close to dinner time but this is what I did get
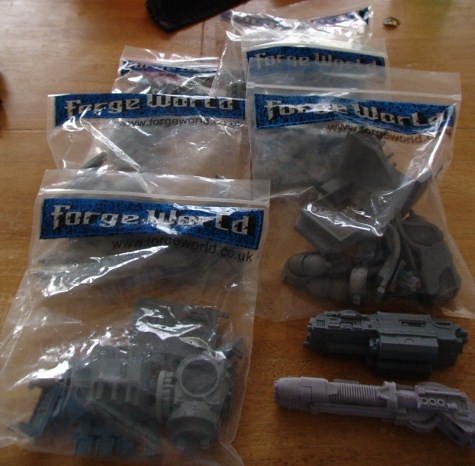
done. First off I look over model checkin each part for warping,
damage and over all condition. Its a good thing because I am
missing the brass eched vents for the top but a quick email
to Forgeworld took care of that and they are in the mail.
No bad warping or miscast that I've noticed yet but I'm just
getting started and while I will give it a good cleaning I did
not notice much release agent on the resin.


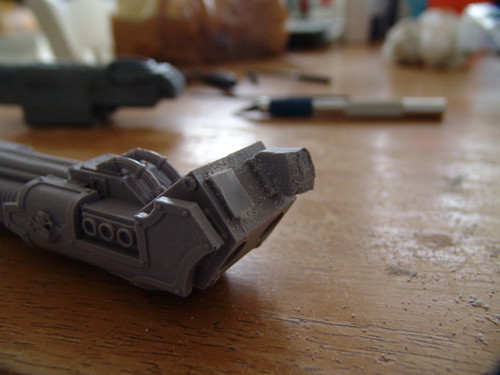
I did start cutting on the Mega Vulcan bolter and the Plasma
Blast gun before I was "asked" to remove my crap from the table lol.

Some of the vents are pretty easy to pick out:


Others are not so easy to see:


After finding the vents and cutting I like giving them a quick
sanding to smooth them out:


Thats about as far as I got, but I will be back it soon. Any
Advice or tips are welcome

Jon